Have you ever found yourself in a situation where your car just won’t start? It can be incredibly frustrating and inconvenient, especially if you’re in a hurry or stuck in an unfavorable location. That’s where car jump starts come to the rescue! In this comprehensive guide, we will walk you through everything you need to know about jump-starting your vehicle and getting back on the road.
Car jump starts have become an essential skill for any driver, as they provide a quick and effective solution to get your car up and running again. Whether you accidentally left your lights on overnight, experienced a dead battery in extreme weather conditions, or simply encountered a faulty electrical system, jump-starting can often save the day.
However, it’s crucial to approach jump-starting with caution and follow the correct procedures to ensure your safety and avoid any further damage to your vehicle. Throughout this guide, we will not only cover the step-by-step process of jump-starting a car but also provide useful tips to minimize the risk of car lockouts, flat tire changes, and the need for towing services. So, let’s dive in and empower you with the knowledge you need to revive your ride whenever the need arises.
How to Perform a Car Jump Start
Cars can sometimes be unpredictable, and finding yourself with a dead battery can be a frustrating situation. However, with a few simple steps, you can easily jump start your car and get back on the road in no time.
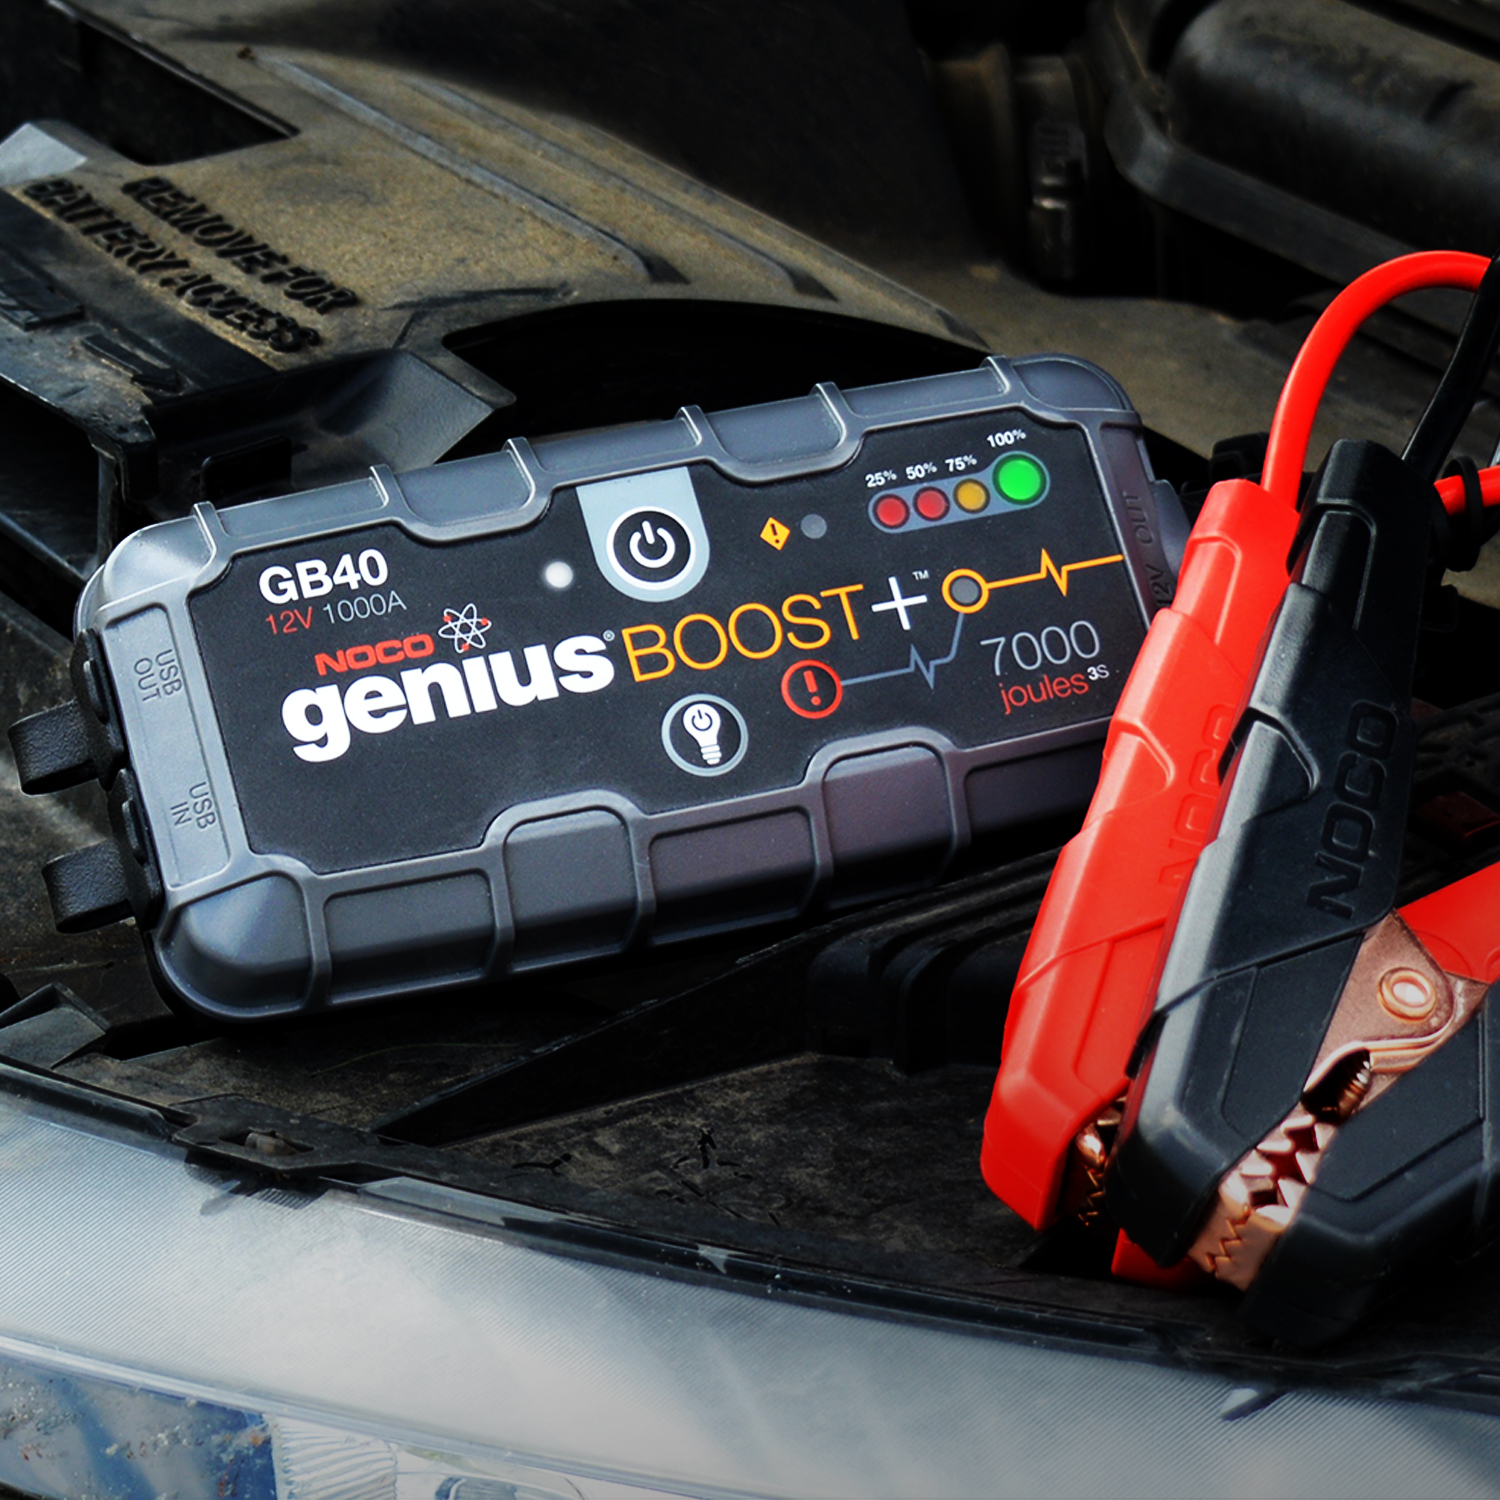
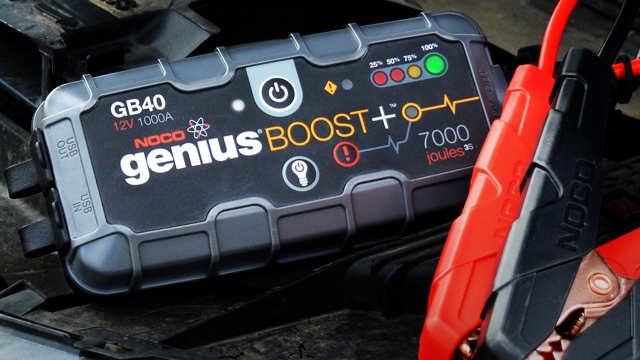
Firstly, make sure you have a set of jumper cables and a working vehicle to assist you. Position both cars close to each other, but make sure they are not touching. Turn off the ignition and all electrical components in both vehicles.
Next, locate the battery terminals in each car. They are usually red (positive) and black (negative), and may have a plus or minus sign marked on them. It’s crucial to identify these terminals correctly to avoid any accidents.
Once you have identified the terminals, attach one end of the red (positive) jumper cable to the positive terminal of the dead battery. Ensure a secure connection by clamping it tightly onto the terminal. Then, connect the other end of the red (positive) cable to the positive terminal of the working battery.
Remember to exercise caution and prevent the metal clips on the jumper cables from touching each other or any metal surfaces other than the battery terminals. Mishandling the cables can lead to sparks or damaged electrical components.
Now, it’s time to connect the black (negative) jumper cable. Connect one end to the negative terminal of the working battery. However, instead of connecting the other end to the negative terminal of the dead battery, find an unpainted metal surface in the disabled vehicle’s engine compartment and secure the cable to it.
Once all the connections are in place, start the engine of the assisting vehicle and let it run for a few minutes. After a brief interval, try starting the vehicle with the dead battery. If it starts successfully, you can safely remove the jumper cables in the reverse order in which they were attached.
Remember to drive your vehicle for at least 20 minutes to allow the alternator to properly charge the battery. If your car still doesn’t start after attempting a jump start, it might be best to seek professional assistance from a reliable roadside service like "Rick’s Emergency Roadside Assistance – Your Trusted Partner for 24/7 Towing and Roadside Services in Chicago". They can provide you with expert help for car lockouts, flat tire changes, and even towing services if necessary.
Performing a car jump start doesn’t have to be a daunting task. With the right equipment and careful execution, you can quickly revive your ride and get back to your journey. Stay prepared, stay safe, and keep "Rick’s Emergency Roadside Assistance" in mind for any roadside emergencies in the Chicago area.
Dealing with Car Lockouts
Getting locked out of your car can be a frustrating experience. It often happens when you least expect it, leaving you feeling helpless. But don’t worry, there are steps you can take to handle this situation and get back on the road in no time.
Firstly, it’s important to stay calm and assess the situation. Check if there are any windows or doors left unlocked. You might be surprised to find that you simply forgot to lock your car in the first place. If that’s the case, problem solved! Just remember to take extra care in securing your vehicle next time.
If your car is indeed locked and you don’t have a spare key readily available, it’s time to consider your options. One avenue to explore is contacting a professional locksmith specializing in car lockouts. These experts have the skills and tools required to safely unlock your car without causing any damage. They can quickly get you back inside your vehicle so you can continue with your day.
Alternatively, if you have access to a roadside assistance service like "Rick’s Emergency Roadside Assistance," give them a call. They offer 24/7 towing and roadside services in Chicago, including assistance with car lockouts. Their trained professionals can come to your location and help unlock your car, ensuring you can get back on the road with minimal hassle.
Remember, car lockouts are common, and it’s important not to panic if you find yourself in this situation. Stay composed, explore your options, and reach out to the appropriate professionals for assistance. With the right help, you’ll soon be back behind the wheel and ready to tackle whatever the road throws at you.
Essential Tips for Flat Tire Change
Changing a flat tire can be a daunting task, but with the right knowledge and a few essential tips, you can handle it like a pro. Follow these guidelines to ensure a smooth and safe tire change.
- Auto Lockout Assistance
Safety First:
- Before you begin, find a safe location to park your car away from traffic.
- Activate your hazard lights to alert other drivers of your presence.
- Engage the parking brake and place wheel chocks or bricks behind the tires to prevent any accidental rolling.
-
Gather the Necessary Tools:
- Ensure that you have all the required tools handy, including a spare tire, jack, lug wrench, and gloves.
- Familiarize yourself with the location of these tools in your vehicle, as it may vary depending on the make and model.
- It’s also a good idea to keep a flashlight and a reflective vest in your car in case you need to change a tire at night.
-
Step-by-Step Process:
- Begin by loosening the lug nuts on the flat tire, but do not remove them just yet.
- Once the lug nuts are loose, place the jack under the vehicle’s frame near the flat tire.
- Using the jack, raise the car until the flat tire is about six inches off the ground.
- Now, remove the lug nuts completely and carefully take off the flat tire.
- Position the spare tire onto the wheel studs, making sure it aligns properly.
- Hand-tighten the lug nuts as much as possible to secure the spare tire in place.
- Lower the vehicle with the jack and remove it from beneath the car.
- Finally, use the lug wrench to fully tighten the lug nuts in a diagonal sequence.
By following these essential tips, you can successfully change a flat tire and get back on the road in no time. However, if you find yourself unsure about the process or dealing with a challenging situation, it’s always wise to contact a trusted roadside assistance service like "Rick’s Emergency Roadside Assistance."